


Whether it be to congratulate friends on a great game or performance, show appreciation for a significant other on date night, or to simply make someone smile on their special day like a birthday or graduation party, there are many situations that require us to bring an extra gift to brighten someone’s day. While all this can seem a little overwhelming, I am about to give you a step-by-step guide for simple, affordable gift that is guaranteed to make anyone smile: a Flower Bouquet!
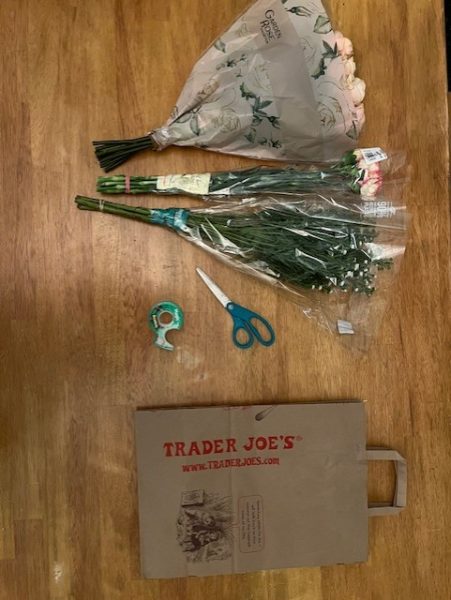
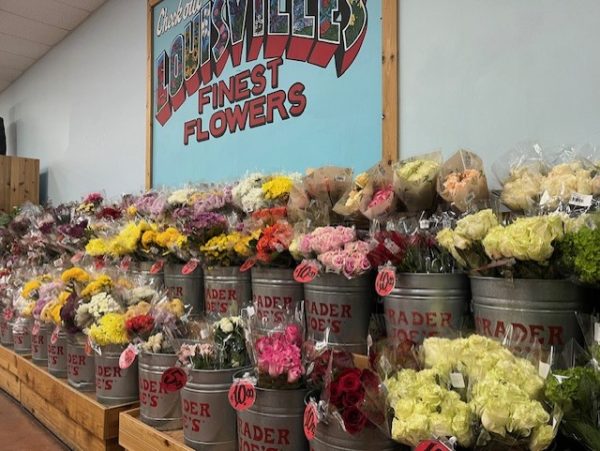
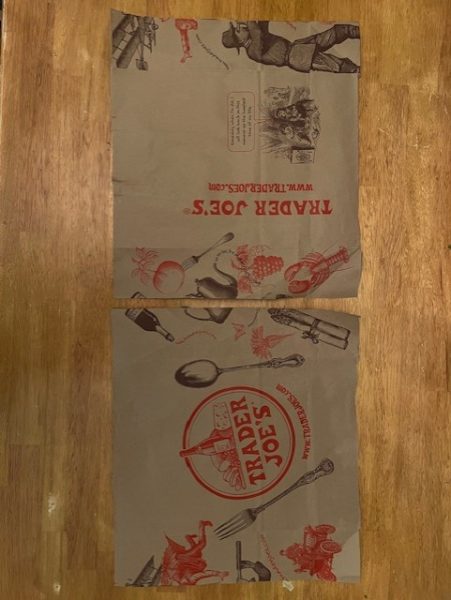
What you will need for this guide: 2-4 different single-flower bouquets, a paper bag, scissors, and tape. I recommend purchasing the flowers from Trader Joe’s because you will be sure to get fresh flowers, as well as a free paper bag that is perfect for this tutorial.
Step 1: Pick out your flowers
This is where you get to do most of your personalizing! I suggest finding out what the receiver’s favorite colors/flowers are to make this gift even more special. Pick out 2-4 different same-flower bouquets to make your arrangement. I suggest using at least one “filler flower” (Baby’s Breath, Cosmos, Bells-of-Ireland, Astilbe, etc.) to help with filling gaps and add volume. For my bouquet I used Garden Roses, Carnations, and White Aster.
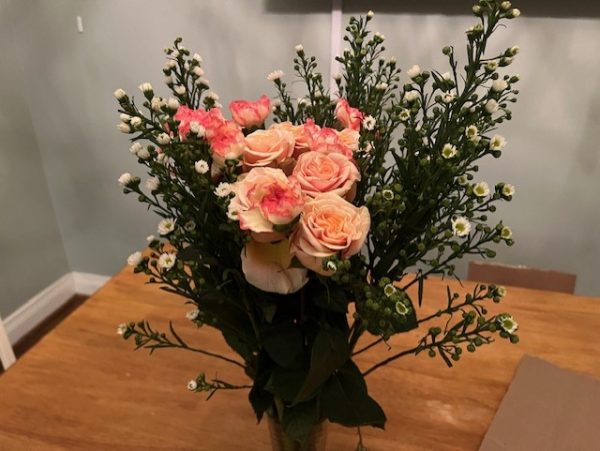
Step 2: Arrange the bouquet
Here is where you are going to combine all your flowers into one bouquet. There is no right or wrong way to do this, you are just going to put all the flowers together in a way you find is best! I suggest finding a vase or something to hold the flowers in while you do this for easier arranging.
Step 3: prepare your paper bag for wrapping
A cute way to present your flowers to your receiver is by wrapping them, and you can do this by simply using a brown paper bag! Here is how you prepare the bag:
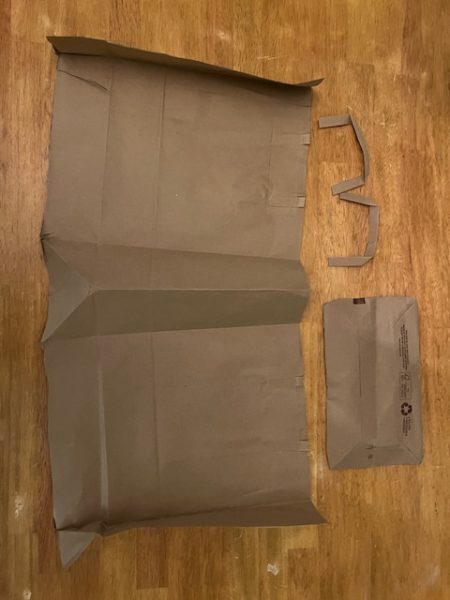
- Use your scissors to cut off the handles of the bag.
- Cut down the fold of the side of the bag all the way to the bottom of the bag. Then, cut the square bottom of the bag off. You should have one long rectangle after this.
- Cut a straight line down the middle of the rectangle to create two even squares. You will only need one of the squares, you can save the second square for a second bouquet!
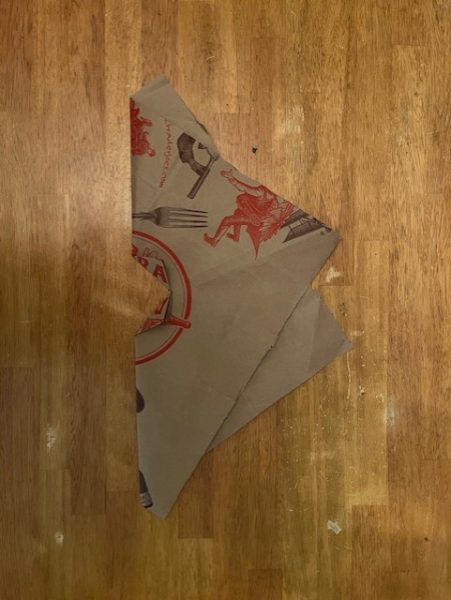
- Take two corners of the square and fold upwards at a slight angle to create a sort of V-Shape with the bag and crease it.
- Cut a line at the bottom of the fold in the middle of the bag and fold the two sides upward. (look at photo for more clarification)
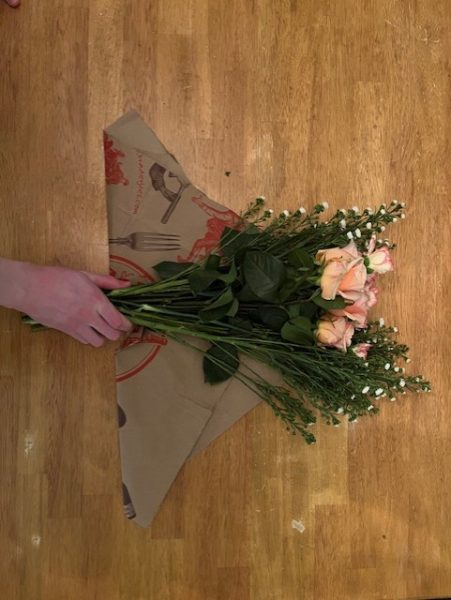
Step 4: Wrap the bouquet
Place your bouquet in the middle of your bag. Take the right side of the bag and fold it over the bouquet and tape it to the other side of the bag. Then, take the left side of the bag and tightly wrap it around your bouquet and secure it by taping.
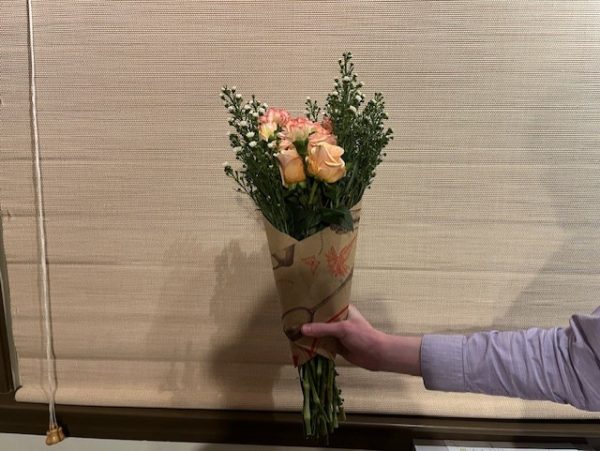
All Done!
Now you have successfully wrapped a bouquet, and it is ready for gifting! You can also wrap a cute ribbon around the bouquet and tie a bow for some final touches, but it is optional! Now you are all set to brighten someone’s day with your heartfelt and beautiful flower bouquet!